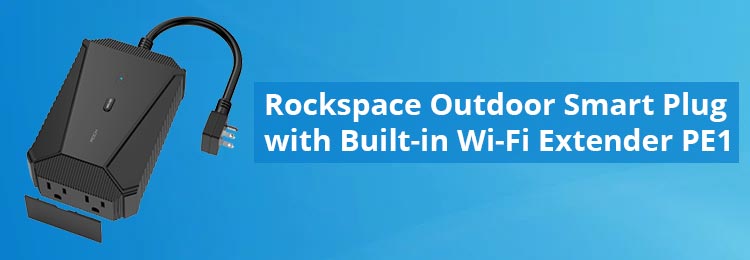
Rockspace Outdoor Smart Plug with Built-in Wi-Fi Extender PE1
Rockspace outdoor smart plug PE1 is a 2-in-1 device. It is a smart plug as well as a WiFi range extender. That means you get power and internet wherever you need it. Using this, you can extend the existing router network up to 2.4GHz. You can install it outdoors without any worries. A smart plug is used to connect any device or appliance and then can be controlled using your phone. In this guide, you will find the entire information about the awesome features that the Rockspace smart plug possesses and also find how to set it up in your home. Thus stick to reading.
Rockspace PE1 Outdoor Smart Plug Features
Get yourself acquainted with the special features of this product:
2-in-1 smart plug + WiFi range extender
By looking at the design, you might say it is just a plug or the smart plug. But don’t get tricked. It is a smart plug with a built-in WiFi range extender.
Easy to setup
It is easy to set up the Rockspace outdoor smart plug at your home. Simply use the Rock WiFi app and get it installed with easy steps. You can also set it up using the WPS button or web browser.
Control it from anywhere
Use the Rock WiFi app and take its control in your hands anywhere and anytime. You can turn it on and off, set the timer for the home appliances, and also create powering on/off schedules for connected devices and appliances.
IPX4 water resistant
It has IPX4 water resistance and thus can be installed outdoors. Without having to worry about splashing water, you can set it up in balcony, patio, gardens, etc.
Overcurrent and overcharge protection
You get two outlets that provide overcurrent and overcharge protection. That means full safety and protection of the connected devices
Rockspace PE1 Outdoor Smart Plug: Setup
Now let us tell you the simple and easy setup process of the smart plug or the WiFi range extender. Here it is:
Step 1: Place the Outdoor Smart Plug PE1
First of all, choose an appropriate place where you need to place your Rockspace outdoor smart plug PE1. Choose a place where you have an available AC outlet. While selecting the place, it is to be taken care that it should be placed halfway between the host router and the area with a dead zone.
Step 2: Supply Power
Now, plug it into the wall outlet to supply power to it. As soon as the power button is turned on, the LED indicator turns green.
Step 3: Final Setup Instructions
Here you have 3 options now. You can set your Rockspace PE1 smart plug using a web interface, Rock WiFi app or WPS button.
Outdoor Smart Plug PE1 Setup: WPS Method
- Locate the WPS button on the host router and press it.
- Now locate the WPS button on your outdoor smart plug and press it.
The LED on it will begin blinking. Once the LED turns green you can rest assured that the setup process is completed.
Outdoor Smart Plug PE1 Setup: Web Interface Method
- Power up your PC first for this method.
- Have it access the home network.
- Launch any internet browser that you like and type wifi.rockspacewifi.com in the address bar.
- Press Enter.
- Create a login password now by filling in the required details as asked.
- Now log in using this password and then you just need to follow the on-screen prompts till you get successful in setting up the device.
For your information, you can also access the Rockspace PE1 login page using the default IP address 192.168.0.254.
Outdoor Smart Plug PE1 Setup: Rock App Method
- Unlock your smartphone and download the Rock WiFi app.
- The instant it is installed on your phone, launch it.
- Create a new account if you are a new user.
- Log in to the account.
- Follow the instructions and complete the setup process.
That’s it! You have successfully set up Rockspace PE1 outdoor smart plug or the WiFi range extender in your home.
Need More Help?
This is all about how you can set up Rockspace PE1 outdoor smart plug in your home. Now you can connect any device with it and control it as you desire. You can also access the Rockspace WiFi extender network by accessing rockspace_ext network on various devices.
If you need further help regarding the setup process or how to make maximum use of the device, get in touch with our expert team. While contacting them, you don’t have to worry about the time. You can contact them at any time of the day or night.